Bring a little joy into your home this Easter with this simple Cricut Burlap Easter Decoration made with the Cricut Joy!
This post may contain affiliate links. Making a purchase through one of these links helps to support this blog.
We could all use a little joy right now, so I’m bringing you joy today in the form of a Cricut Joy Easter craft! Easter, indeed, is still on its way. And while the outside world feels like it’s full of doom and gloom, I’m making the inside of our house bright and cheery! I love the Easter season for its pretty, pastel colors and symbolism of rebirth. So I decided to make an easy Easter craft that could double as pretty spring decor!
During this time of isolation, I’ve found myself getting more creative than usual when it comes to projects and recipes. Take this Easter decoration, for instance. It might look pretty normal from the outside. But making it took some crafty decisions and made me realize that nothing is safe when it comes to crafting anymore!

Cricut Burlap Easter Decoration
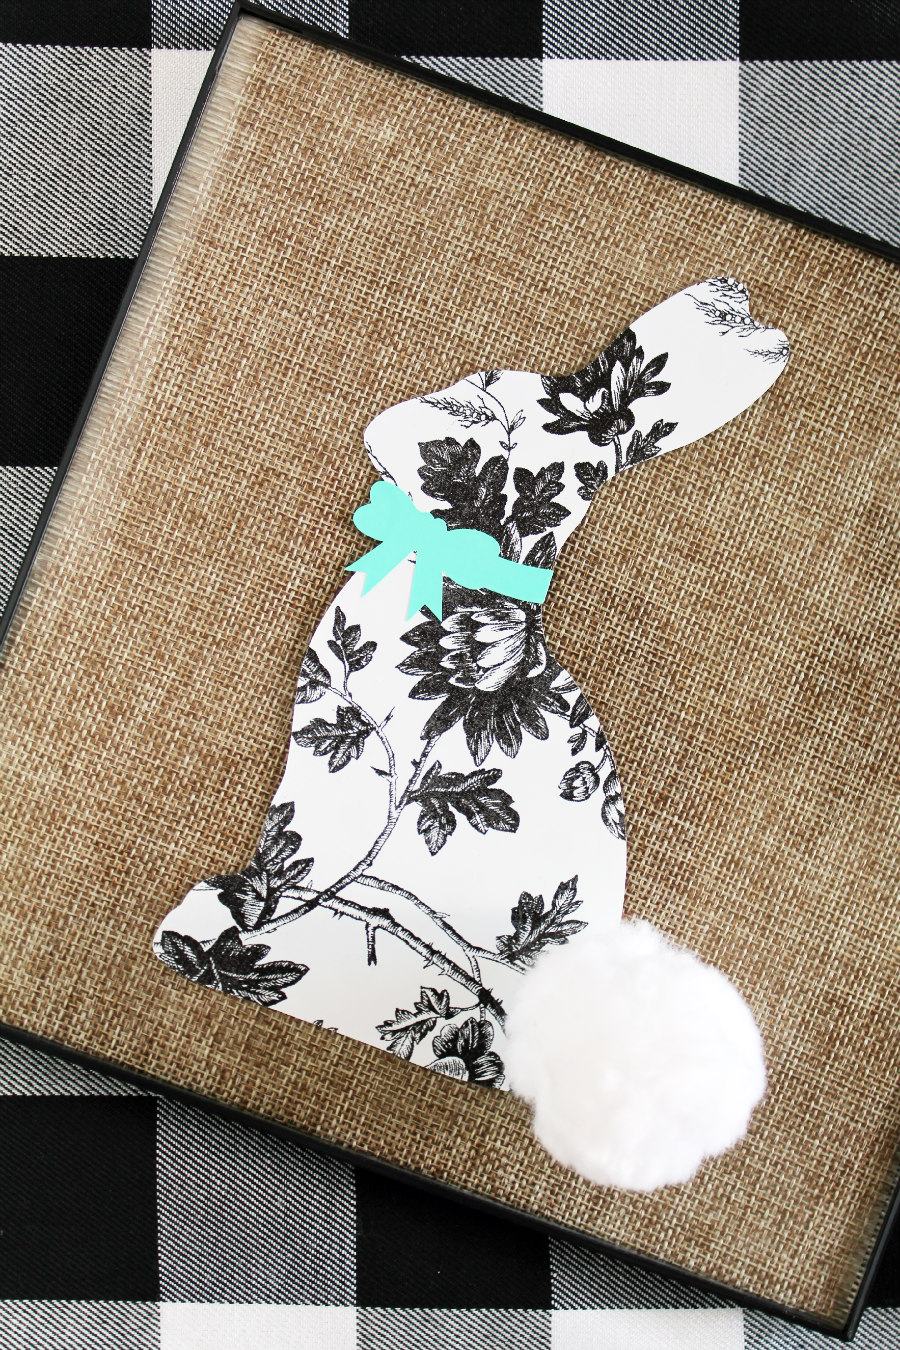
I knew I wanted to decorate a simple 8″ x 8″ frame with a vinyl rabbit design and cotton pom-pom tail. But instead of using vinyl, I cut contact paper instead. I was afraid it might be too thin and tear, but it worked perfectly! I did add a vinyl bow to the rabbit design, but all I needed was a little scrap to do that.
Originally, I wasn’t going to add a background. But the frame just felt like it needed something. I immediately thought to use burlap behind the glass and searched my fabric box for a scrap. My search turned up empty-handed and then I remembered my storage box of table runners in the closet. There I found a burlap table runner I hadn’t used in years! So I dug out my fabric scissors and started cutting! Bye-bye, table runner. Hello, cute Easter decoration!
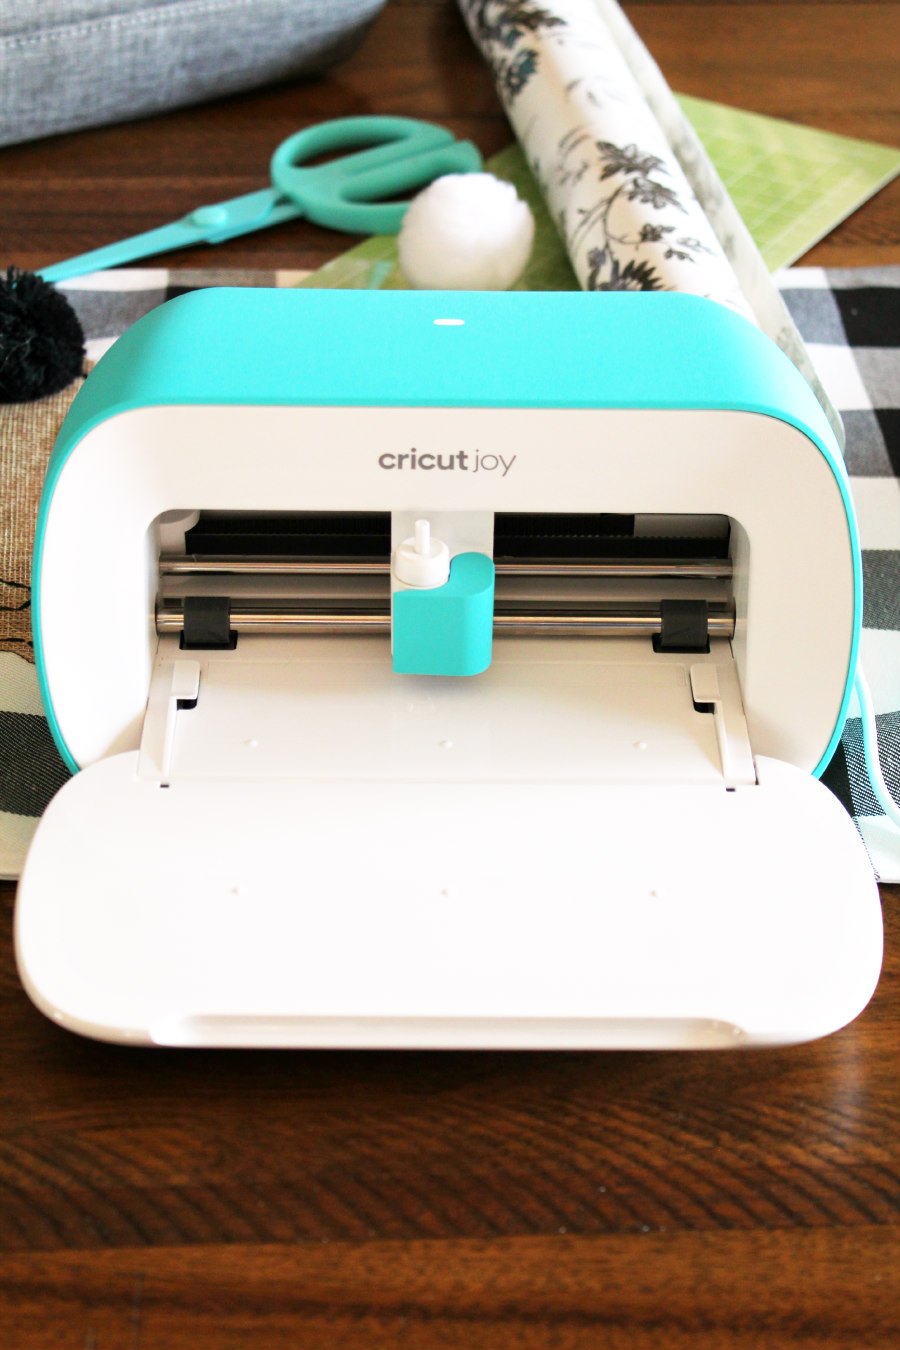
Since this was my first time using the Cricut Joy, I wasn’t sure how it would differ from Cricut’s other machines. Don’t let its size fool you! It’s a smart, little machine! It can easily detect and load a mat or Smart Materials by itself. Just like Cricut’s other machines, cutting is a breeze! After I figured out my design and resized it, this Cricut Joy craft took minutes to make!
Crafting with the Cricut Joy


The first thing I did was search Design Space for a simple rabbit shape. I basically just wanted a silhouette, so I chose a design resembling a chocolate bunny. Then, I changed the color and size of the rabbit to fit the picture frame.

Since this was my first time using the Cricut Joy, I wasn’t sure what steps I needed to take to make my first cut. Since you can cut with or without a mat, I was brought to a screen that gave me options on how I wanted to load my materials.

Once I chose my mat and material (I chose adhesive paper for the contact paper), I was ready to rock-and-roll with my cuts and put my project together!

SUPPLIES
- Cricut Joy
- 2 – StandardGrip Mat
- Starter Tool Set
- Teal Smart Vinyl
- Floral Patterned Vinyl, or contact paper
- 8″ x 8″ picture frame
- White pom-pom
- Burlap
- Hot glue gun
- Scissors

STEPS
- Open the Easter bunny design in Design Space. Resize, if necessary, to fit the picture frame. Change the rabbit and bow colors, if desired.
- Prepare 2 StandardGrip mats with each vinyl color.
- Load the first mat into the Cricut Joy. Choose options as prompted and continue to cut.
- Repeat with the second vinyl color.
- Making sure that the picture frame is clean, carefully position and apply the rabbit shape onto the glass.
- Layer the bow shape onto the rabbit.
- Once the rabbit design is in place, heat a hot glue gun and glue on the white pom-pom for a tail.
- Using the insert of the picture frame as a template, cut a piece of burlap to fit.
- If necessary, trim the burlap and glue the edges onto the picture frame insert to keep it in place.
- Carefully place the glass back into the picture frame and display!

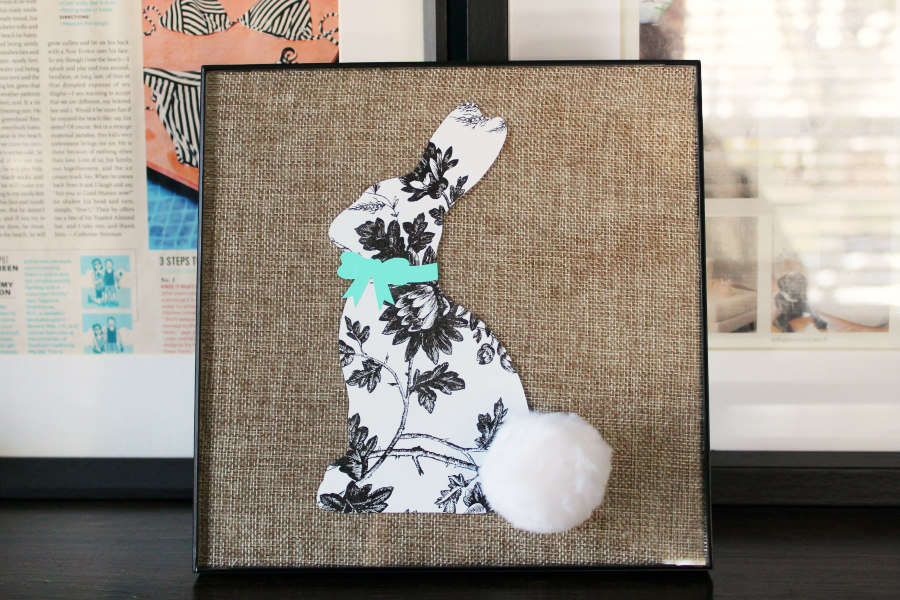
My first project with the Cricut Joy was an absolute success! And I can honestly say that this Easter decoration brings me joy every time I look at it! It’s a minimal Easter decoration that would fit into any room’s decor! Like my office where I do a lot of my Cricut crafting!
Did you make this Cricut Burlap Easter Decoration? Share it on social media using the hashtag #livinglavidadiy. Don’t forget to tag me @lavidaholoka!
PIN FOR LATER

1 Comment
[…] Cricut Burlap Easter Decoration […]